Upgrade Instructions
There are two ways to upgrade your activeCollab setup: by using the auto-upgrade tool or by upgrading manually. Both processes are described below.
Automatic Upgrade #
When a new version of activeCollab is available a red index number will be displayed next to the Admin icon in the main menu. To run the auto-upgrade process, click the Version Number button in the Administration Menu or the Update button on the Administration page. This will trigger the auto-upgrade dialog. Enter your password and let the system do the rest.
After the upgrade process is finished, you should have the latest version of activeCollab installed.
If you are using firewall protection on your server, please make sure that www.activecollab.com and activecollab.com address is white-listed. The upgrade files are placed on our servers and your activeCollab instance needs to be able to make a connection (with the server) to be able to complete the upgrade.
Manual Upgrade #
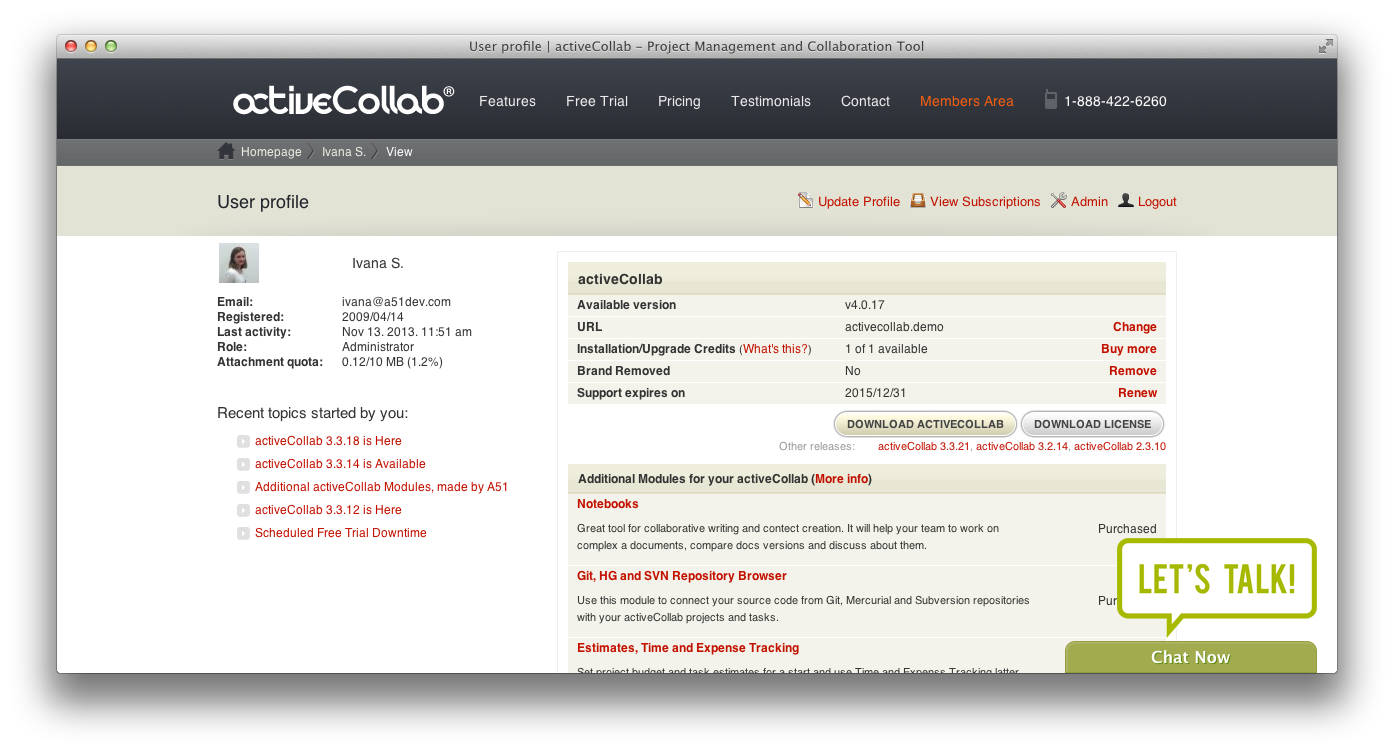
Before starting the manual upgrade process, download the latest activeCollab version from your profile page on www.activeCollab.com:

Now follow these steps:
Unpack the archive that you have just downloaded.
Open the /for-upload/activecollab folder. This folder contains files with the latest activeCollab version number.
Upload the folder with the version number to the /activecollab folder on your server.
Visit the /public/upgrade/index.php part of your activeCollab with your web browser, log in with your administrator credentials and the upgrade process will begin.
To confirm that you have successfully upgraded activeCollab, open the config/versions.php file and make sure that upgrade script has written the latest version number in the file.
