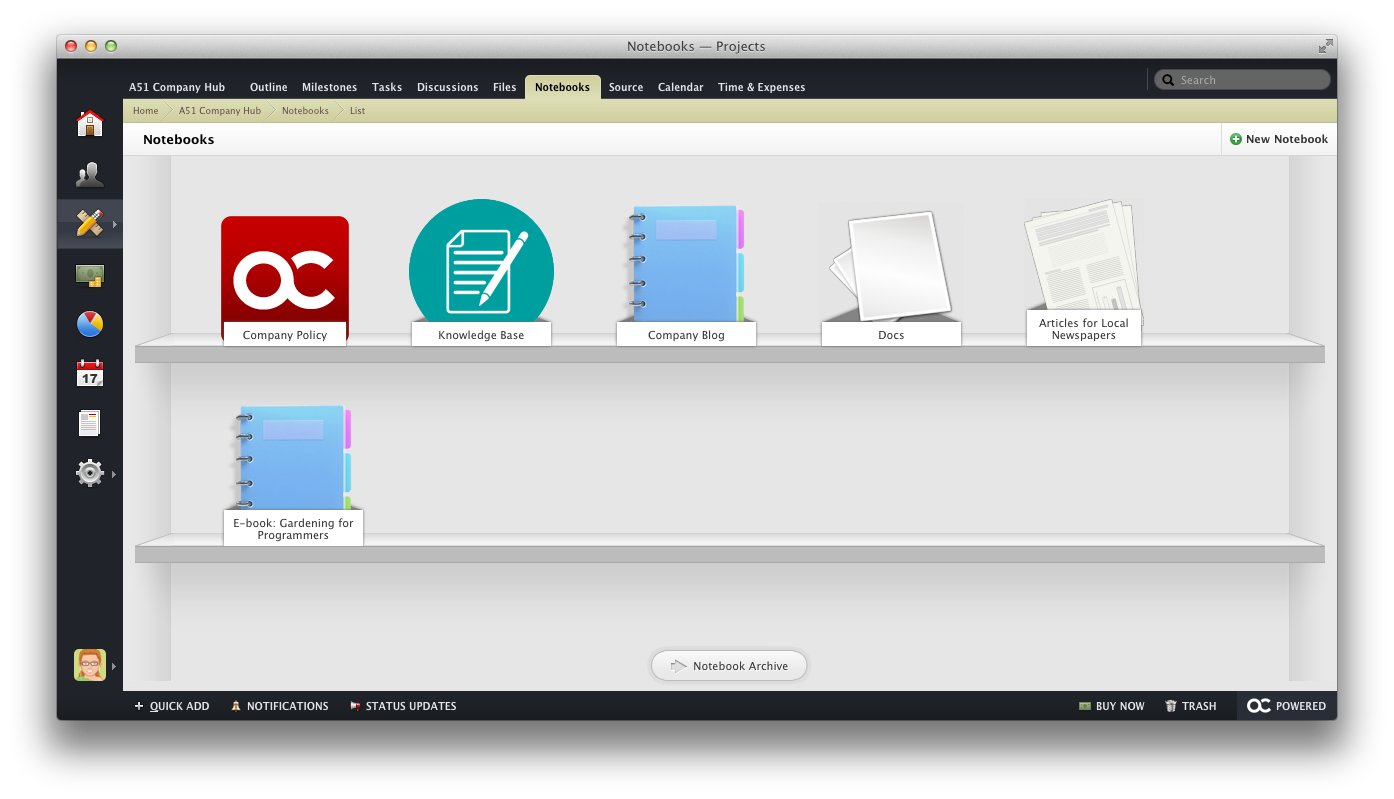
Creating a Notebook
Notebooks are the place where your team can work together on different text documents. You can use Notebooks for all kinds of collaborative writing - short articles, blog posts, complex documentation, or even writing a book.
The Notebooks are a separate tab in your Projects. To create a new Notebook, click the New Notebook button. The newly created Notebook resembles a folder where all the Pages (the name for document Files within a Notebook) are stored.

To control who can use Notebooks and create new content, use Project Permissions. There are four permission levels that you can use:
- No Access prevents users from seeing the Notebooks tab.
- Access Only enables users to see Notebooks and access the pages.
- Access and Create allows users to see and create Notebooks or pages.
- Access, Create and Manage grants full access.
You can also mark a Notebook as Private to hide it from your Clients.
Managing Notebooks #
Once a Notebook is created, you can:
- place it under a Milestone.
- make it Public or Private.
- Copy or Move it to another Project.
- replace the Notebook cover with an image of your choice.
- Share and make the Notebook publicly available.
On the Notebooks page, you can also change the order of Notebooks by clicking on the handles next to the title and using the Drag and Drop functionality.
